Call For Admission - 9644139972

Certify Course

IS0 9001:2008 Certifed Diploma Course .

Placement to Serivce Center

Placement by Asia Telecom in Big Reputed Company

All Mobile Stock Rom Data

we HAVE PROIVE ALL STOCK ROM DATA FOR ALL MOBILE PHONE

GET ADMISSION NOW CALL TO 9644139972

jABALPUR,MADHYA PRADESH.

How to Reset Mobile Phone Complete Guide

Hard Reset All Mobile Phone Complete Guide

Advance Mobile Repairing Hardware & Software Complete Guide

Wednesday 31 May 2017


MediaTek CPU IC – SP Tool


What we can do with SPFlash tool

  • Flashing to Android stock ROM (scatter based)
  • Flash Custom ROM (scatter based)
  • Application for Fixing Bricked device.
  • Advanced Memory testing and verifying.
  • Read / Write parameters.
  • Erasing / Formatting / Reset Your MTK based device.


Requirements For SP FlashTool

  • Pc or Laptop

  • USB data cable for your device


  • Backup your device

Features And Functions Of Smart Phone (SP) Flash Tool

1) Back UP Android Phone System : Through SP Flash Tools you can backup Your Whole Android System and save it on your hard drive, This backed up File is just like A windows CD. Whenever you get some errors in system you can reinstall This backup on Your Smart Phone again to get your phone working like before.


2) You can Flash files into System : Many Android Mediatek Devices nowadays are Non Rootable , For devices like that SP Flash tool is the only way to Root.

3) Install Custom recoveries on Phone : Adding custom recovery To your phone means adding a set of option to your phone through which you can inject any script, or flash Custom roms and themes to your phone System. ClockworkMOD( CWM) is one of the most famous Custom recovery platform for Mediatek android Devices. And through this Custom recovery too you can backup your system, And do many Functions.

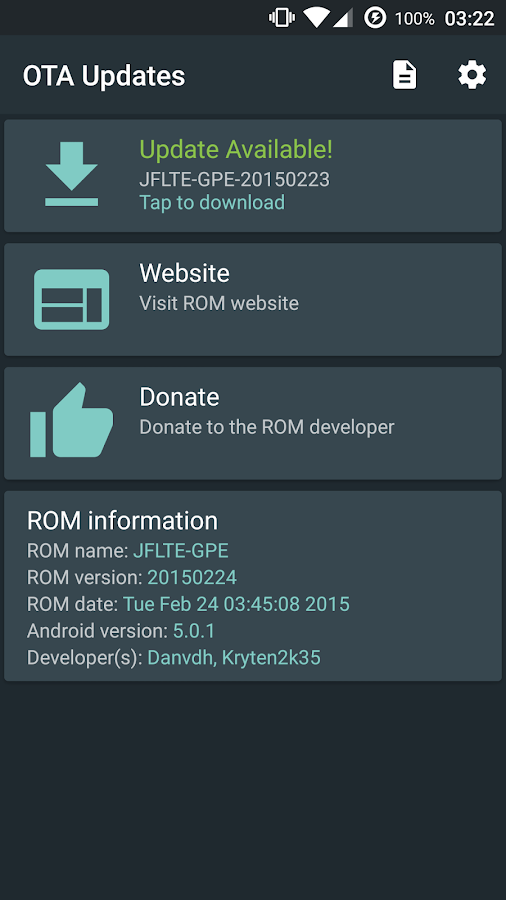
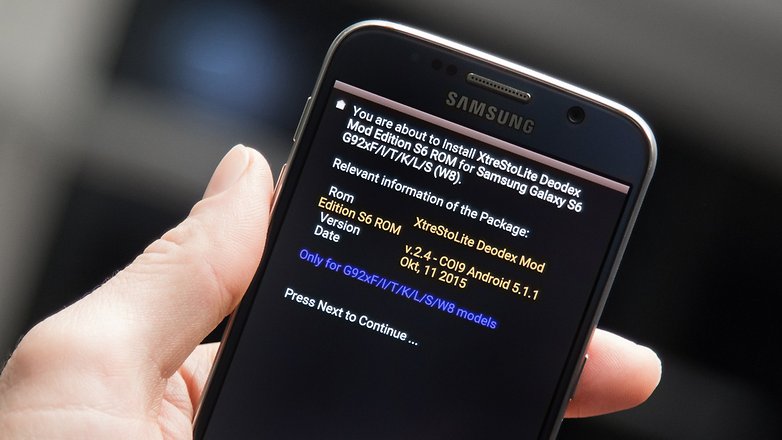
4) Install Different versions of Android : Sometimes developers of phone release New version of android Update unofficially. ( These are not released by company, these are done by Any Android developer ) And to  Install these android version Updates you need SP Flash tool.


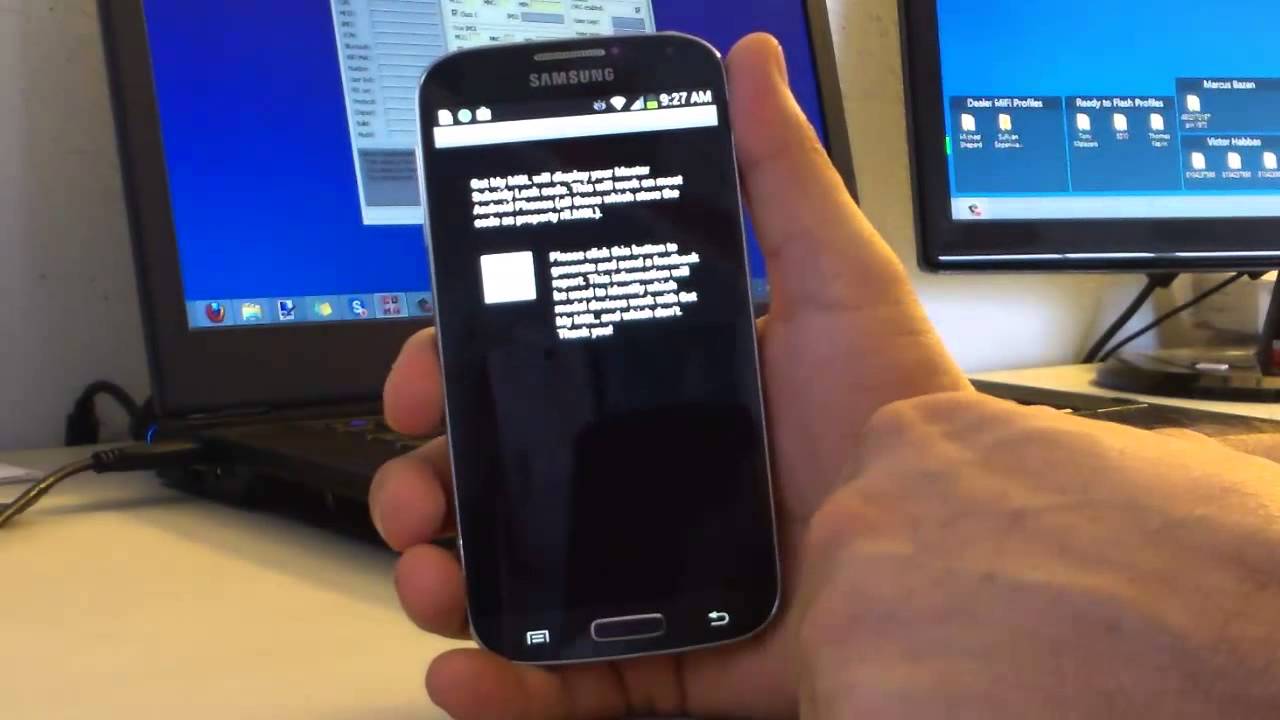
5) Unbrick An Android phone : Sometimes when you have root access to your phone, and you do Mess with system files, Your phone will not work anymore. It just goes into a Boot LOOP or Does not even show any sign of getting on. this is called as a Bricked Android device. In these cases you can download the official Firmware Of your Android device ( If you don’t have a backup ) And install it on your phone through SP flash tools, And that is it, Everything will become perfect in your Smart Phone.


Basic Guide for SP-Flash-Tools

  • Download and unzip the package , Open SPFLASHTOOL EXE and Load the Scatter file ( Click Scatter Loading)
  • Uncheck all the boxes
  • Go to / click RECOVERY box from list and load recovery image according to your device/choice ( load image from the separate window –>open)
  • Now you can see RECOVERY box is checked and you can see the recovery image location ( uncheck all other boxes)
  • Switch off your device
  • Connect your device and Click DOWNLOAD “button” on top ( not the tab) , If it ask click “yes”
  • It is done and MTK flashTool will do the rest. If you have problem with flashing tool or drivers install MediaTek USB VCOM drivers from our links.
After successful  run you will be prompted with green circle. congrats you have successfully flash your MediaTek Android smartphones with SP Flash Tool.
Note - We will not be responsible for any loss or damage whatsoever 
caused if you will attempt or follow .Please do it at own risk.
================================

install MediaTek USB VCOM drivers


install MediaTek USB VCOM drivers


MediaTek MT65xx Preloader USB drivers will help you in flashing different files to your phone. Especially custom ROMs and root packages via the SP Flash tool. Further than that, it will allow for proper data transfers to and from your connected device. These drivers are compatible with all Android devices running MediaTek MT65xx chipset.
mediatek-logojpg

Download MediaTek MT65xx USB VCOM Drivers – Installation Guide

The steps below can be applied to any PC running Windows XP and up. However, for Windows 8 and newer, you need to disable Driver Signature Verification. There are plenty of guides online showing you how to disable digital Driver Signature Verification so you can use them before you proceed to install this driver package.

NOTE: At this point, you should have already disabled digital Driver Signature Verification if you are running Windows 8 or anything newer.

Step 1 – Download MediaTek MT65xx USB VCOM 
key - !GG0P6gwoh0-eUn2IQj8nukw7B5qHQ-sGDbBAFrBLXDk


drivers and extract them.

Download Link 2 - Download MediaTek MT65xx USB VCOM 

Step 2 – You need to access Device Manager. Do so by right-clicking on My Computer and clicking on “Manage”. In the new window that pops up, select “Device Manager” from the menu shown on the left.


Step 3 – The computer you are using will be shown at the top with it’s name. Right-click on the name and select

Add Legacy Hardware.


1

Step 4 – A new wizard will pop up. Just click on Next.

2


Step 5 – From the following menu choose the second option shown in the screenshot below and click Next.


3

Step 6 – You will be shown a long list in the following screen. Just select Show All Devices and click Next.


4

Step 7 – Click on Have Disk in the following window and select any .inf file you extracted in Step 1.

Step 8 – Once selected, click on Next. There will be a security warning on which you can select Install Anyway.

Step 9 – Restart your PC and connect your Mediatek MT65xx device.


That’s all to it! After you install correct USB drivers for your Mediatek device, you can use different tools to flash different files and also stop worrying about failed data transfers.

Asia Telecom " Mobile Training Institute " 
Get Admission Call - 9644139972
One Month - Full Hardware & Software 
Course Fees -7000/- Only

Address - Jabalpur, Madhya Pradesh 

Mobile Flashing Tool – Mobile CPU


Mobile Flashing Tool – Mobile CPU


बिना बॉक्स के फ्लशिंग करने के लिए मोबाइल के CPU का पता होना चाहिए | क्युकी हर CPU IC का फ्लशिंग टूल अलग अलग होता है जैसे

  • MediaTek CPU IC –  SP Tool ( Driver Require ) - How to Flash MediaTek from  SP Tool 
  • Spreadtrum CPU IC  – Spd upgrade Tool ( Driver Require )
  • Qualcomm Snapdragon CPU IC –  Qualcomm Flash Tool ( Driver Require )
  • Blackberry – Auto Loader Tool
  • Apple – iTunes Tool
  • Samsung – Odin Tool ( Driver Require )
  • Mi Phone – Mi Phone Flash tool ( Driver Require )
  • LG Phone – LG Flash Tool ( Driver Require )
  • Motorola Phone – Moto Auto Flash Tool ( Driver Require )
  • Lumia Phone – Lumia Software Recovery Tool
  • Oppo Phone – Oppo Flash Tool


Note - We will not be responsible for any loss or damage whatsoever caused if
you will attempt or follow my video.Please do it at own risk.
===============================================
LIKE, COMMENT AND SHARE

Mobile Rom

Mobile Rom
In case of mobile ROMs are the low level programming (also often called firmware) that contain the operating system and basic applications to make your phone work. 
मोबाइल फ़ोन में रोम को फर्मवेयर भी कहते है जिसमें मोबाइल का पूरा ऑपरेटिंग सिस्टम और कई बेसिक एप्लीकेशन लोड रहते है 
Firmware refers to the applications and operating system that control how a cellphone or smartphone operates. It is called firmware rather than software to highlight that it is very closely tied to the particular hardware components of a device.
ROM is "built-in" computer memory containing data that normally can only be read, not written to. ROM contains the programming that allows your computer to be "booted up" or regenerated each time you turn it on. Unlike a computer's random access memory (RAM), the data in ROM is not lost when the computer power is turned off. The ROM is sustained by a small long-life battery in your computer.
If you ever do the hardware setup procedure with your computer, you effectively will be writing to ROM.

रोम दो प्रकार की होती है 

Custom Rom 


मोबाइल फ़ोन में फ्लशिंग के वक्त उपलोड के गयी वह फर्मवेयर जो किसी गूगल के आलवा किसी तीसरे  डेवेलोव्पेर ने बनायीं है इससे Un-official Rom कहते है  |
Custom ROM is the Android version which is not officially provided but customized and distributed by other developers
ओरिजिनल (STOCK ) रोम जो गूगल ने बनाया है कस्टम रोम जो देवेलोपेर्स बनाते है स्टॉक रोम में गूगल के सारे एप्प प्री इनस्टॉल रहते है पैर कस्टम रोम में गूगल के एप्प को अलग से डाउनलोड (GAAP) कर के फ्लशिंग के साथ उपलोड करना पड़ता है |

Why to choose Custom ROMs?

Custom ROMs are the ones which are customized or developed from the original source code of Android and differ from it in features and/or looks. Custom ROMs are not provided by Google or other mobile vendors but are developed and maintained by community and its contributors.
Image result for Custom ROMs
    1. Root Access

Custom ROMs provide you root access in your Android system. Root access in Android/Linux is like the administration permissions in Windows – you get permission to do almost anything in your phone/tablet. Isn’t it wonderful? Many of the people (including me) get rid of the Stock ROM to enjoy root access – you become the master of your Android – you decide what apps will be installed, which services will run in the background and many other similar permissions.
Image result for root your android mobile
      1. Regular Updates

Updates or new releases are more regularly released for Custom ROMs than Stock ROMs. Many of the times, a new Android release come in the market but your phone company don’t provide the update for your phone. Then where you stand? Your mobile vendor forget about your phone and start focusing on its new models. But the community supports you – people releases custom ROMs of new Android releases even if your mobile company don’t release the update for your phone. Using Custom ROMs, you always have the option to try new Android versions. For example, Android 4.1 (JellyBean) is the latest release at present but Sony has denied releasing it for Xperia phones announced/released before mid 2011, but CyanogenMod (the most popular Custom ROM of Android) is working on beta versions of 4.1 version and will soon be releasing the final tested version of JellyBean.
Image result for root  regular update
      1. Easy to Change

Once you’ve rooted your phone and installed a Custom ROM, it’s very easy to change and install different Custom ROMs of your choice without any hassle. If you’ve installed a custom recovery (like ClockWorkMod) then you can easily install Custom ROMs by just downloading the zip package of the ROM, putting it on your phone’s SD card’s root directory, rebooting your phone and opening the recovery, and installing that zip file after cleaning your system and data partitions.
Related image
      1. Better Performance

Custom ROMs allow you to install/remove apps, change background services and set many other performance tweaks. This make Custom ROMs perform better than Stock ROMs in most cases. Custom ROMs are not bulkier as Stock ROMs and are not bundled with lots of pre-installed apps and services – this make it even faster and perform better.

Stock Rom

Stock Rom


स्टॉक रोम मोबाइल में ओरिजिनल फर्मवेयर को कहते है उदारण के लिए आपने मोबाइल फ़ोन जब ख़रीदा था उस फ़ोन में फर्मवेयर लोलीपोप वर्शन 5.1  आई थी तो वह उस फ़ोन के स्टॉक रोम कहलाएगी |
” Stock ROM is the Android version which mobile company officially provide you along with the phone or tablet.”
मोबाइल फ़ोन में फ्लशिंग करते समय हमेशा उसकी स्टॉक रोम डालते है |

Why to choose Stock ROMs?

Stock ROMs are the ones which come by default in Android phones or tablets. These are customized versions of Android done by mobile companies to make their devices unique in looks and features.
Image result for stock rom meaning
    1. Warranty

Stock ROMs doesn’t void your warranty. One of the biggest reasons that people don’t go for Custom ROMs is warranty. Most of the companies prohibit rooting your Android phone or installing a custom Android version – and if you do so, then you can void/lose your warranty.
Image result for stock rom meaning
      1. Premium Apps

Stock ROMs usually come with loaded premium apps which are built by mobile companies to attract customers.
Image result for stock rom meaning

मोबाइल फ़्लैश करने के जरुरी दो बाते

मोबाइल फ़्लैश करने के  जरुरी दो बाते
मोबाइल फ्लशिंग के लिए कंप्यूटर का ज्ञान होना जरुरी होता है  इन्टरनेट एक्स्सेस करना आना चाहिए 

1. Computer – मोबाइल फ्लशिंग के लिए कंप्यूटर की जरूरत पड़ती है 
कम से कम  विंडो 7 होना चाहिए और 32 बिट प्रोसेसर चाहिए |
2. Mobile – जिस मोबाइल को फ़्लैश करना है वो मोबाइल चाहिए 

3. USB Cable 
मोबाइल को कंप्यूटर से जोड़ने के लिए ओरिजिनल USB cable चाहिए | 
4. Internet –मोबाइल की फर्मवेयर जिसे फ़्लैश फाइल कहते है उसको  डाउनलोड करने लिए कंप्यूटर में इन्टरनेट होना चहिये 

5. Flash file – मोबाइल का सॉफ्टवेर जिसे फ़्लैश फाइल या फर्मवेयर भी कहते है 


6. Flash Tool – मोबाइल में नया फर्मवेयर अपलोड करने के लिए मोबाइल से संबंद्धित flash tool 
7. USB Driver 
मोबाइल को फ़्लैश टूल से जोड़ने के लिए फ्लशिंग USB ड्राईवर चहिये 

Mobile Reset Soft Reset Vs Hard Reset


Mobile Reset 
Soft Reset  Vs Hard Reset 


There are many types of resets associated with mobile phones. Soft Resets, Hard Resets, Master Resets, Factory Data Resets, to simply name a few. 

बहुत सारे अलग अलग टाइप होते है मोबाइल फ़ोन को रीसेट करने का 

Two of the more common resets available on cell phones, the Soft Rest and the Hard Reset, explaining what they are, what they are intended for, how they can be performed, and what they can do to help your mobile phone function properly.

मोबाइल फ़ोन में रीसेट करने के 4 तरीके 

Soft Reset 

Hard Reset 

Mater Reset 


How To Use Titanium Backup [Full Guide]


How To Use Titanium Backup  [Full Guide]

itanium Backup is the ultimate app of choice for every avid Android user with a rooted device. 

 Titanium Backup will not only backup your apps, but their data as well. This means, that by backing up a game, you can back up your progress in the game as well.


We’ll start off with what any novice user would when installing Titanium Backup for the first time. If you’re here, your device is probably already rooted. If not, you might want to check our guide on how to root your Android device.


Titanium Backup can seem intimidating to the first timers, but the app is actually quite simple to use once you know your way around it, and that’s exactly what we’re here to do. The app is available as an unpaid version and a paid one, that is Titanium Backup Pro, with the latter offering some advanced features that will be discussed later on.

you have Titanium Backup installed, now how do you backup your apps? Simple, hit the Backup / Restore tab as seen in the screenshot above and you should see a screen somewhat similar to the one below. The apps with their icons visible are the one’s that are already installed on your system, and the ones that are crossed out, are those that have been backed up, but not yet installed.


But what’s with the creepy smilies, the excalmatory marks and all? Tap the Menu button on your device and hit the Legend tab. You will be shown a screen similar to the one below, listing all the symbols and what they actually mean.

Right , so you’re in the Backup/Restore menu. To backup any particular app, simply tap it and a sub menu like the one below, will pop up. No need to go all Dee Dee on Dexter here, stick to what you were here for. Hit the Backup button and leave. Please note that you can only have a single backup for every app in the unpaid version of Titanium Backup. Now that you know how to backup an app, here’s how to restore an already backed up app. Simply tap on an app (yes the crossed out ones) and when the sub menu appears, hit the Restore button to restore that app. You will be asked whether to restore the app alone, or the app with its data. Take a pick. In some cases, restoring an app with data may cause the app to become corrupt or force close, especially when you have moved from one ROM to an entirely different ROM. In such cases, try restoring the app alone, without the data.
It is advised that if and when you do make a backup of system apps and settings, do not restore them on a totally different ROM. For example, do not restore system apps backed up in MIUI on a HTC Sense based ROM unless you want a mess on your hands. In all likelihood, the ROM will act up.


Now that you’ve familiarized yourself with the Backup and Restore option, it should be safe to tell you that Wipe Data removes all the relevant data associated with that app and Un-install does exactly what it says. If you want to remove a particular backup of any app, hit the delete button. This will remove any backup of the app along with its data from your device. Freeze (Only available with Titanium Backup Pro) is a very useful option that lets you freeze up any app that you don’t want deleted, but don’t exactly want it to be running either. This option is handy for use with system apps mostly, that run unannounced and in cases where a certain app drains a lot of battery. If you’re not sure you want to delete them, you can at least stop them from running constantly in the background.
The above Backup and Restore options are all good for a few apps, what about when you have, say, a hundred of them or even more? It would be cruel if we had to go through the tap to backup process for each app one by one. Luckily, for sanity’s sake, the developers included a Batch Backup / Restore feature. Batch operations are split into 9 categories including BackupRestoreBackup VerificationMove / IntegrateFreeze / Defrost (Pro version only), Manipulate DataUn-install and Delete Backups.


Something different to app backup and restore is the Move / Integrate feature, which allows you to move all your apps to the SD card in batch. Coming back to batch backup and restore, here’s how you can backup all of your apps with just one tap. Hit Menu -> Batch to bring up the batch operations menu, then select RUN with the backup type of your choice. In our case, we chose Backup all user apps and were taken to a screen as shown below (on the left). You will be asked if you want to exclude backing up the apps that are active or kill them to back them up. Select the apps that you want, or just hit Select all, and once the choice is made, hit the Run the batch operation button on the top.
As for batch restore, here’s what will make you want to purchase the Pro version. Hit the Restore type of your choice, in our case we chose Restore missing apps with data. Select the apps and choose whether you want to restore the data as well. Hit the Run the batch operation button and voila! The restoration has started. “Uh oh, it took me to the app installation screen! Is that normal?”. Unfortunately, yes it is. The free version of Titanium Backup is not so hot on restoring your apps for you. You will have to install and then hit the done tab for every app being restored in succession. Frankly, it is a pain! The Pro version lets you restore your apps in a batch as any normal batch operation should, be it 10 apps, 300 or even more.


How to Factory Reset Android

How to Factory Reset Android Phone and Get Back up


Suppose our android device is not performing well, and we like to take action for Factory reset.
One of best option for taking fully Android phone backup can be performed through these apps –
  1. Titanium Backup Apps
  2.  Wondershare MobileGo to make a backup to your PC.
If we have done process of android backup then follow below tips to carry restore factory –
  • At first Open Phone Setting and click on Storage option in menu lists .

Note –
  • If our android mobile is old version then click on setting option and select Privacy.

  •  In next tab, go to at the bottom, click on factory data reset option.
  • Once we choose this option, Android will inform us that we are ready to complete clean information of internal phone memory. An option will also appear to remove complete information of internal phone memory and memory card. If our android mobile is plugged with internal memory card and do not like to format it then select  Skip option.

  • Now our Android phone will complete reset factory setting actions in few minutes and restart automatically.
Once Restore factory setting of android phone has performed then we can use personally it after new configuration or sell it to buyer quickly.

Random Posts

banner
Copyright by Asia Telecom ,Created By Asia Telecom. Powered by Blogger.